

We all know that pump maintenance can be complicated. Thankfully, there are ways to streamline the process and make pump repair easier. Here are five handy “hacks” for pump maintenance that will keep you operating longer and more cost effectively.
1. Safest way to remove a stuck impeller
Impellers get stuck for a variety of reasons. The most common occurs when only one gasket or even no gasket at all is used. You should always use two gaskets. Another common reason is when anti-seize has been applied to the hub face. Anti-seize should only be used on certain parts of the impeller. People like to use anti-seize on the threads, faces of the shaft sleeve, the impeller, and the gaskets. That actually causes it to overtighten. A good rule of thumb is if you want to use anti-seize on the threads of the shaft and the impeller, keep the axial faces of the shaft sleeves, the gaskets, and the impeller hub dry. Impellers also can stick due to thread breakage on either the shaft or the impeller. While it is possible to run a pump with a stuck impeller, it is best to repair it first to avoid long-term damage.
For more complex cases, maintenance workers can use a drop bar and the impeller’s own weight to break threads loose. For this and other maintenance procedures, make sure the impeller is fully seated when starting the pump. Be sure to avoid running the pump backwards and heating the impeller.
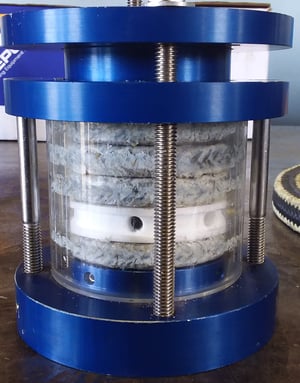
2. Properly pack your stuffing box
Here are the six steps for packing your stuffing box:
- Inspect: Disassemble parts and check for excess wear, grooving, and more.
- Align: Align the stuffing box with the shaft sleeve; center with a piece of packing.
- Install: The number of lantern rings you install depends on the stuffing box; KSB GIW, Inc. offers a wide range to meet your needs.
- Pack and tighten: Ensure all rings are the right length, and stagger joints so they are not fully aligned. Tamp them using the right tool, then install and tighten the gland partway. Finger-tighten it the rest of the way.
- Apply seal water: Do this right before starting the pump. Watch for leakage and let it run for an hour. Then, tighten the gland until a narrow stream of water, about the width of a pencil, exits the stuffing box.
- Check flush water requirements: Check the discharge pressure and add 10 PSI. The recommended flow rates are in your pump manual.
3. Tricks for tightening mechanical seals
Many operators use stuffing boxes, but mechanical seals have some advantages, too. To use them properly, however, you must properly tighten them. Use the following steps to ensure a secure seal.
- Bolt the seal adapter to the pedestal and hand tighten. Check to ensure it is centered.
- Mount the adapter plate perpendicular to the shaft. When the seal cartridge is in, draw it into the adapter with the gland bolts. Check its angularity to ensure it is perpendicular.
- Check the shaft sleeve’s fit onto the seal bore. Make sure the seal adapter fits properly onto the hub plate.
- Slide the mechanical seal over the shaft sleeve toward the bearing assembly. Move it into position on the pedestal, then install the bolts. Put the seal into position.
- Lubricate the studs with anti-seize and install washers and nuts. Then, center the seal on the shaft and torque according to instructions. Clamp the seal to the shaft.
- Remove and store the lock tabs, then turn the shaft by hand to check for free rotation.
- Adjust the nose gap by installing the lock tabs in the seal and loosening the shaft clamp. Then, loosen the bearing assembly bolts and move it forward until it touches the suction plate.
- Keep one bolt on the drive end snug to prevent tilting. Tighten the shaft clamp, loosen the tabs, and then rotate the shaft again to ensure contact is made.
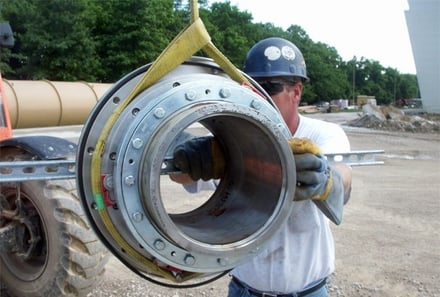
4. Removing the shaft sleeve
Shaft sleeve maintenance is crucial to any pump’s long-term success. To begin, spray both ends of the sleeve with penetrating oil to prepare for removal. After letting it soak, use a slide hammer to pull it off. Depending on the condition of the shaft sleeve, you may need other methods of removal.
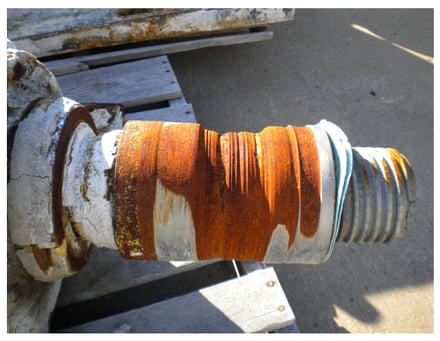
For example, if you use a cold chisel and hammer to remove the sleeve, be sure to follow the proper precautions. Use the chisel to drive the sleeve off, rotating the shaft with each chisel. If the shaft seal is corroded, spray both ends with oil, then tap with a hammer while rotating to break up the corrosion and loosen the sleeve.
Do not use a torch to remove the sleeve; moisture between the shaft and sleeve could cause damage. It is best to use a lifting device to remove components and the impeller itself.

5. Easiest way to mount snap ring gaskets
Baby powder is surprisingly effective when it comes to maintenance. Use it as lubrication to make mounting snap ring gaskets easy. You also can use cornstarch or talcum powder; these dry lubricants provide the right balance of gripping action and lubrication that oil-based lubricants cannot.